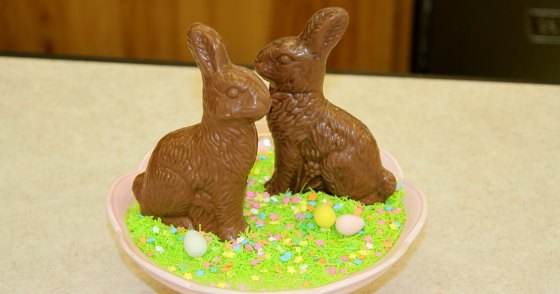
 Get a jump start on Easter by making your very own chocolate bunnies! Classic three dimensional Easter rabbits are easier to make than you might think and are an impressive centerpiece for your baskets.
You’ll need:
Three dimensional bunny mold
Candy coating
Pastry Brush
Squeeze bottle
Cotton gloves for candy making
Clamps
Scissors
Paring knife
Styrofoam
To make a 3-d bunny you’ll need special molds designed specifically for this purpose. Molds are clamped together and have a small opening where the chocolate can be added. The opening is filled with chocolate, then the mold is placed in the freezer for the chocolate to set. When set, the mold is removed from around the chocolate piece. Lightweight plastic molds for three-dimensional candies are commonly sold in a sheet that needs to be cut apart. After the mold is cut, there are typically notches on the mold that allow you to line up the cavities.


Make sure the candy mold is thoroughly dry. If the mold is lightweight plastic and is one sheet, cut the mold apart to create two halves. Also cut the bottom to provide an opening.
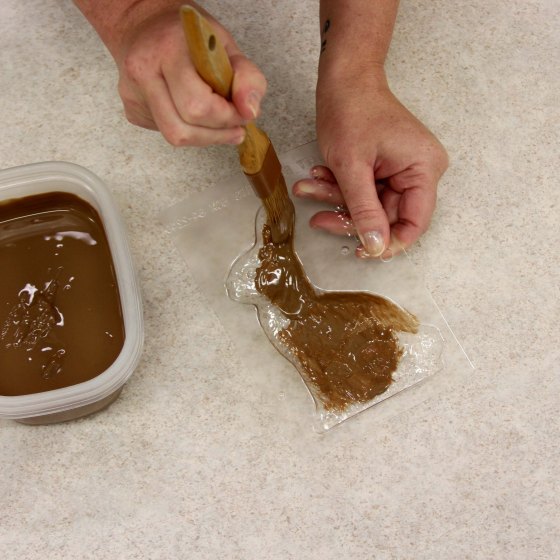 Paint details, if desired. To prevent air bubbles, brush the mold cavities with chocolate.


If the mold is lightweight plastic, clamp the two halves of the mold tightly together using binder clips.


Melt candy coating (Find out how here). Pour melted candy coating into a squeeze bottle or pour melted and tempered chocolate into a parchment cone or disposable pastry bag. Insert the bottle, cone, or pastry bag into the opening of the three-dimensional mold. Fill the candy mold, filling just to the top of the cavity.


If the mold is lightweight plastic, insert the mold into a block of Styrofoam to keep the mold upright. Place the filled mold in the freezer. The freeze time will vary according to the thickness of the mold. A mold for a 2″ or 3″ (5 or 7.5 cm) three-dimensional piece may only take 10 minutes in the freezer, while a large, 12″ (30 cm) solid piece may take 40 to 60 minutes in the freezer. When the mold is cloudy, remove it from the freezer. Remove the binder clips and take the mold apart, carefully releasing the candy.


If the molds are not tightly clamped, there may be a seam. Carefully break off the larger bits of chocolate then trim the seam using a paring knife. Brush with a pastry brush to remove any loose chocolate. Uses gloves when handling the chocolate to prevent fingerprints and smudge marks.
If the base is not level, line a cookie sheet with a sheet of parchment paper. Heat the cookie sheet on a stovetop, over the lowest heat. Rub the base of the candy piece on the parchment paper to level.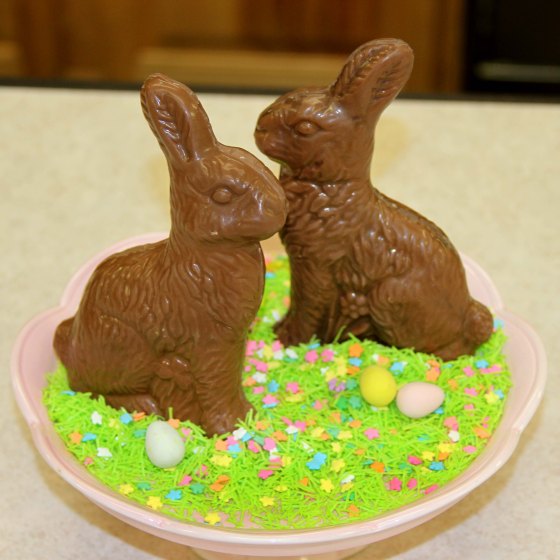
Hollow Candy
Before freezing, allow the filled mold to set for 10 minutes. Flip the mold and allow excess chocolate to drip onto parchment paper. Then place in freeze and following the direction above.
Hollow candy will take 10 to 20 minutes to set in the freezer.
To see a video on the process, visit our Facebook page.
